...
The
...
following
...
instructions
...
describe
...
how
...
to
...
add
...
StudyTRAX
...
as
...
a
...
web
...
application
...
to
...
IIS
...
6.
...
- Run
...
- IIS
...
- Manager
...
- Expand
...
- the
...
- Web
...
- Sites
...
- node.
...
Center 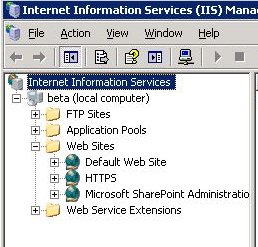
- Right click on the website to add the application to and select New -> Virtual Folder
Center 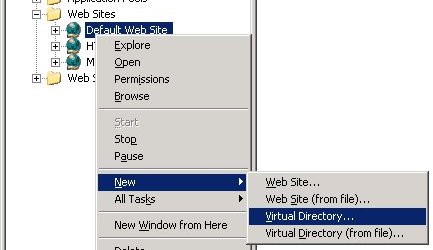
- The Virtual Directory Creation Wizard should appear
Center 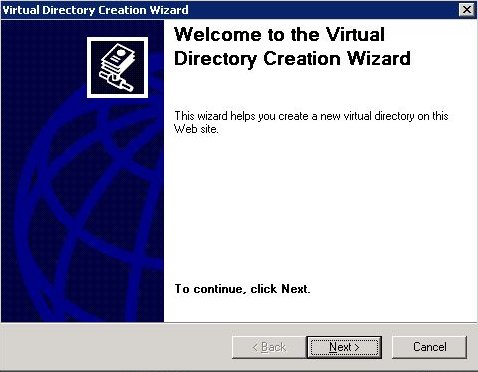
- Click the Next button
- Enter "StudyTRAX" for the name of the virtual directory and click Next
Center 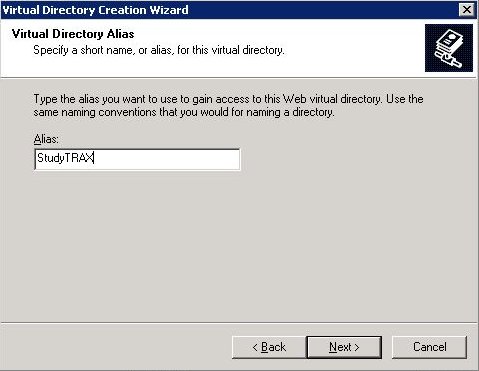
- Enter the path where you unzipped StudyTRAX and click Next
Center 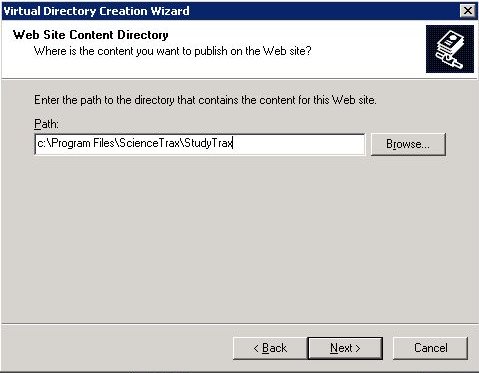
- On the Permissions page, just keep the defaults and click Next
Center 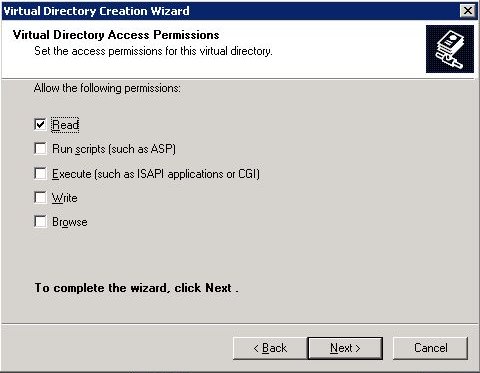
- Click the Finish button
Center 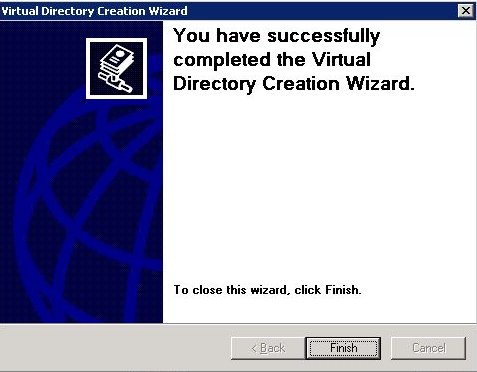
- Expand the web site you added the virtual directory to
Center 
- Right click on StudyTRAX and select Properties
Center 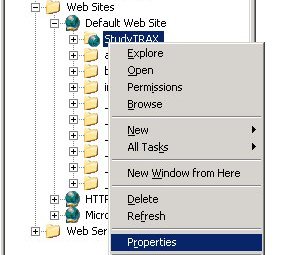
- Click the Create button to convert the virtual directory to a web application
Center 
- Select the application pool that you would like to use for StudyTRAX.
Center 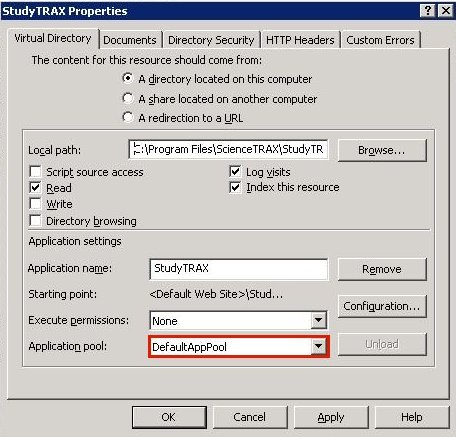
Note If StudyTRAX is the only application on the web site, the default is fine. If other applications are running on the web site, you should create a new application pool for StudyTRAX.
- Click the OK button
At this point, the web application has been created. You should make sure that the application pool is configure .