...
Overview
This page describes how to add an Application Pool to run StudyTRAX under and how to add StudyTRAX as a Web Site in IIS 7. Additionally, if StudyTRAX is running under SSL, you should redirect requests for HTTP to HTTPS so users who try to access the site via HTTP will still be able to access StudyTRAX.
Add Application Pool for StudyTRAX
- Run Internet Information Services (IIS) Manager
- Right click on Application Pools and select "Add Application Pool..."
Center 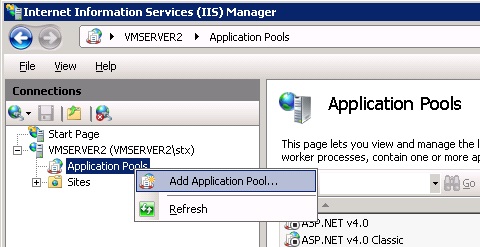
- Enter a Name: for the application pool (e.g.,
...
- StudyTRAX)
...
- Select
...
- .Net
...
- Framework
...
- v4.0.30319
...
- Click
...
- OK
...
Center 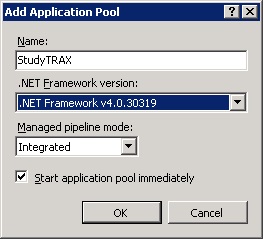
- Select the Application Pool that you just created and click the Advanced Settings link on the right.
Center 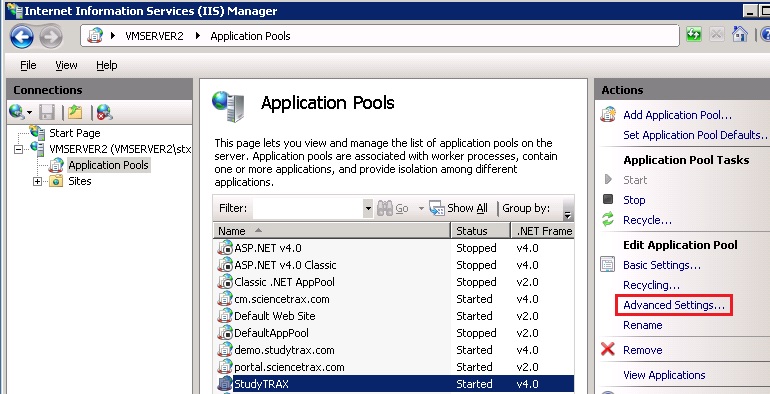
- Make sure that the .NET Framework Version is set to v4.0.
Center 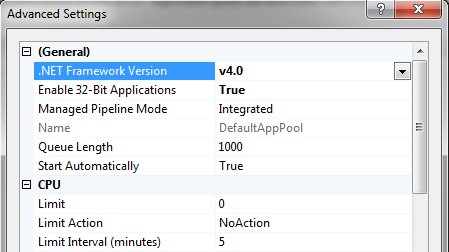
- Select "True" for the Enable 32-bit Applications option.
Center 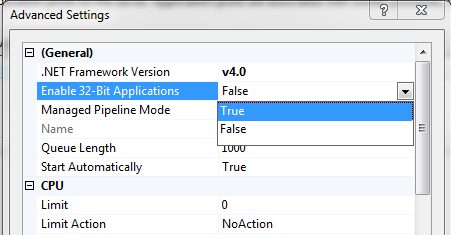
- Scroll down to the Process Model section.
- Click in the Identity field and then click the "..." button.
Center 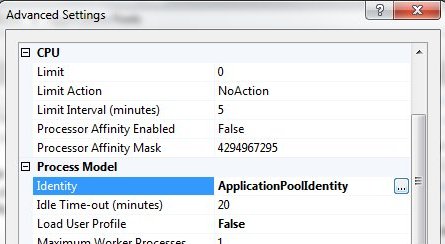
- Select Custom account option and click the Set button.
- Enter the credentials for the user that you created in the Creating a StudyTRAX Service Account step
Note These credentials will be used for connecting to the database. They will also need to have Full Control permission to the Temp and Log directories for StudyTRAX.
Center 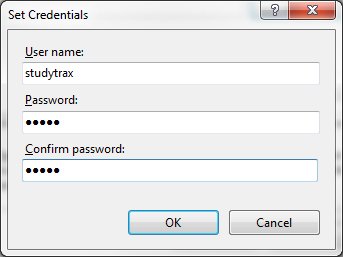
- Click OK to set the credentials.
- Click OK to close the Application Pool Identity dialog.
- In the Idle Time-out (minutes) field, change the value to 1440 or greater.
Center 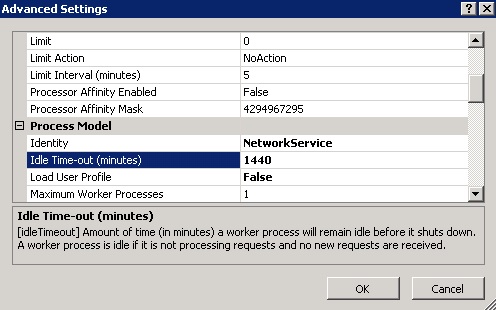
- Scroll down to the Recycling section
- Change Disable Recycling for Configuration Changes to True
Center 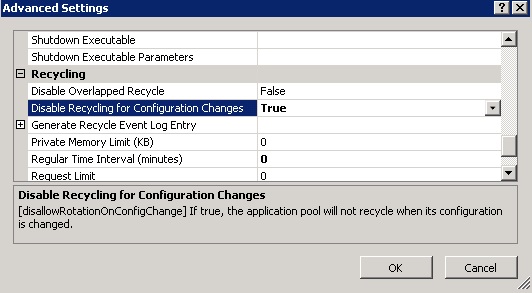
- Change the Regular Time Interval (minutes) to 0.
Center 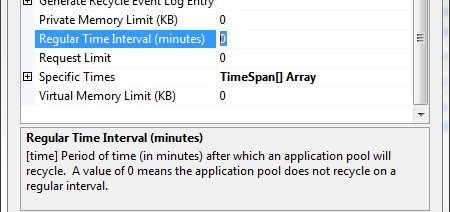
- Click in the Specific Times field then click the "..." button.
Center 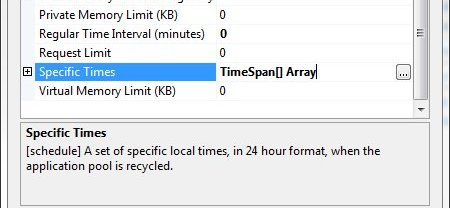
- Click the Add button on the TimeSpan Collection Editor. Change the value in the right panel to 3am (03:00:00) as the recycle time. This gives the StudyTRAX batch processing time to complete before the Application Pool is recycled.
Center 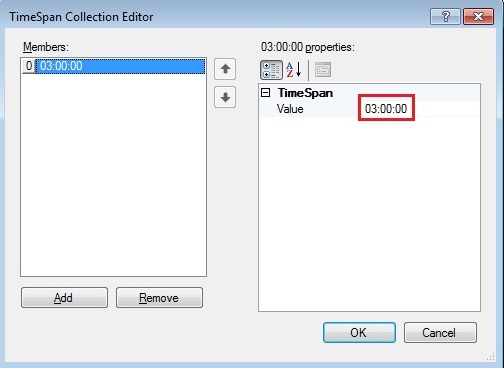
- Click the OK button to close the TimeSpan Collection Editor
- Click the OK button to close the Advanced Settings dialog.
Add StudyTRAX Web Site
- Run Internet Information Services (IIS) Manager
- Right click on the Sites folder and select "Add Web Site..."
Center 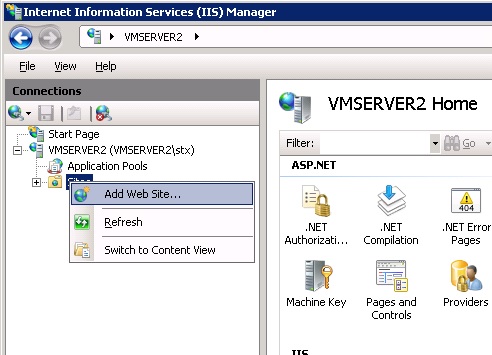
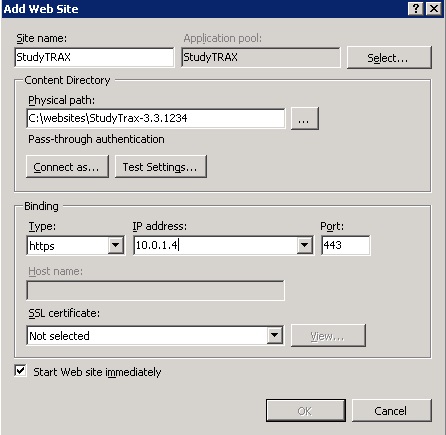
- In the Add Web Site dialog, enter "StudyTRAX" for the Site name:.
- Select the Application Pool you set up to run StudyTRAX.
- Enter the root StudyTRAX folder that was unzipped for the Physical Path.
- Although not required, it is highly recommended that Binding type be https. This requires a SSL certificate.
- Click OK button.
| Center |
|---|
 |
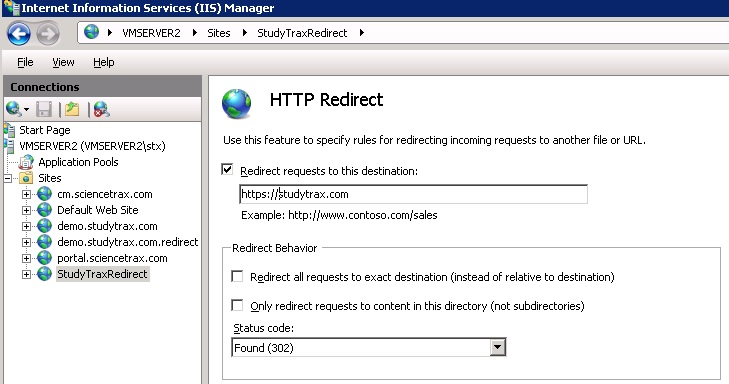
Create Redirect from HTTP to HTTPS
- Run Internet Information Services (IIS) Manager
- Right click on the Sites folder and select "Add Web Site..."
- In the Add Web Site dialog, enter "StudyTraxRedirect" for the Site name:.
- Select an empty directory. This directory is only used to store an XML configuration file for this web site.
Center 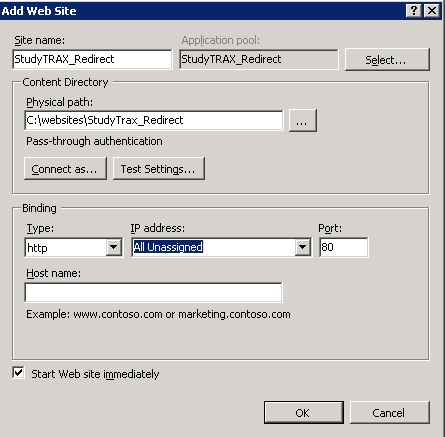
- Select HTTP Redirect in the center pane in the IIS section. If HTTP Redirect is not an available option, it needs to be added as a feature to the IIS role.
Center 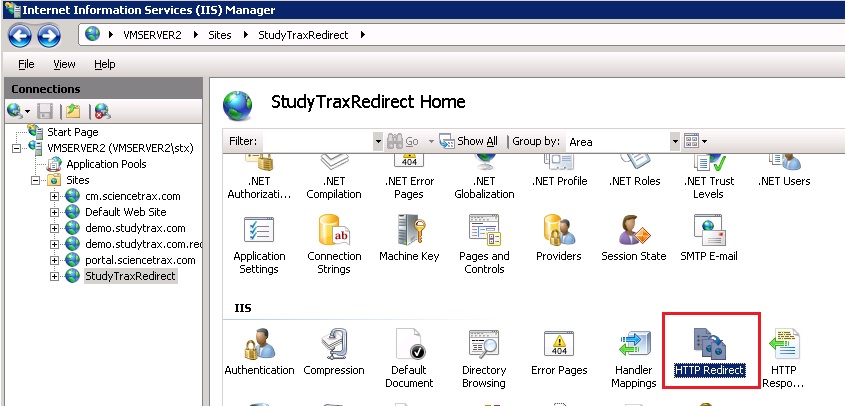
- Check Redirect requests to this destination:
- Enter the HTTPS URL for StudyTRAX
- Click Apply in the upper right part of the dialog.
Center